More than a month ago, the metal mirror housing on my 2009 Honda Rebel broke off due to an accident. I was biking with just the right mirror (it’s legal in NY State). Honestly, it wasn’t so bad. However, when merging left or switch to the left lane, I felt like a pigeon, constantly pivoting left to look behind me.
I was complaining about it to my friend Serge, on the verge of ordering this $30 piece (also known as a clutch perch) when he chimed in, “You still have the piece right? Use JB Weld.”
I ordered some JB Weld, did some quick YouTubing and went to work. I dabbed the epoxy mixture onto the edges of the piece. Then, I pieced together the parts and held it in place with my thumb. I allowed it to cure, came back, and installed my new aftermarket mirrors.
When I inserted the mirror, the pressure caused it to snap the mirror mount right off. For some reason, the JB Weld epoxy was not adhering/curing. I tried to repeat the experiment the next but to no avail.
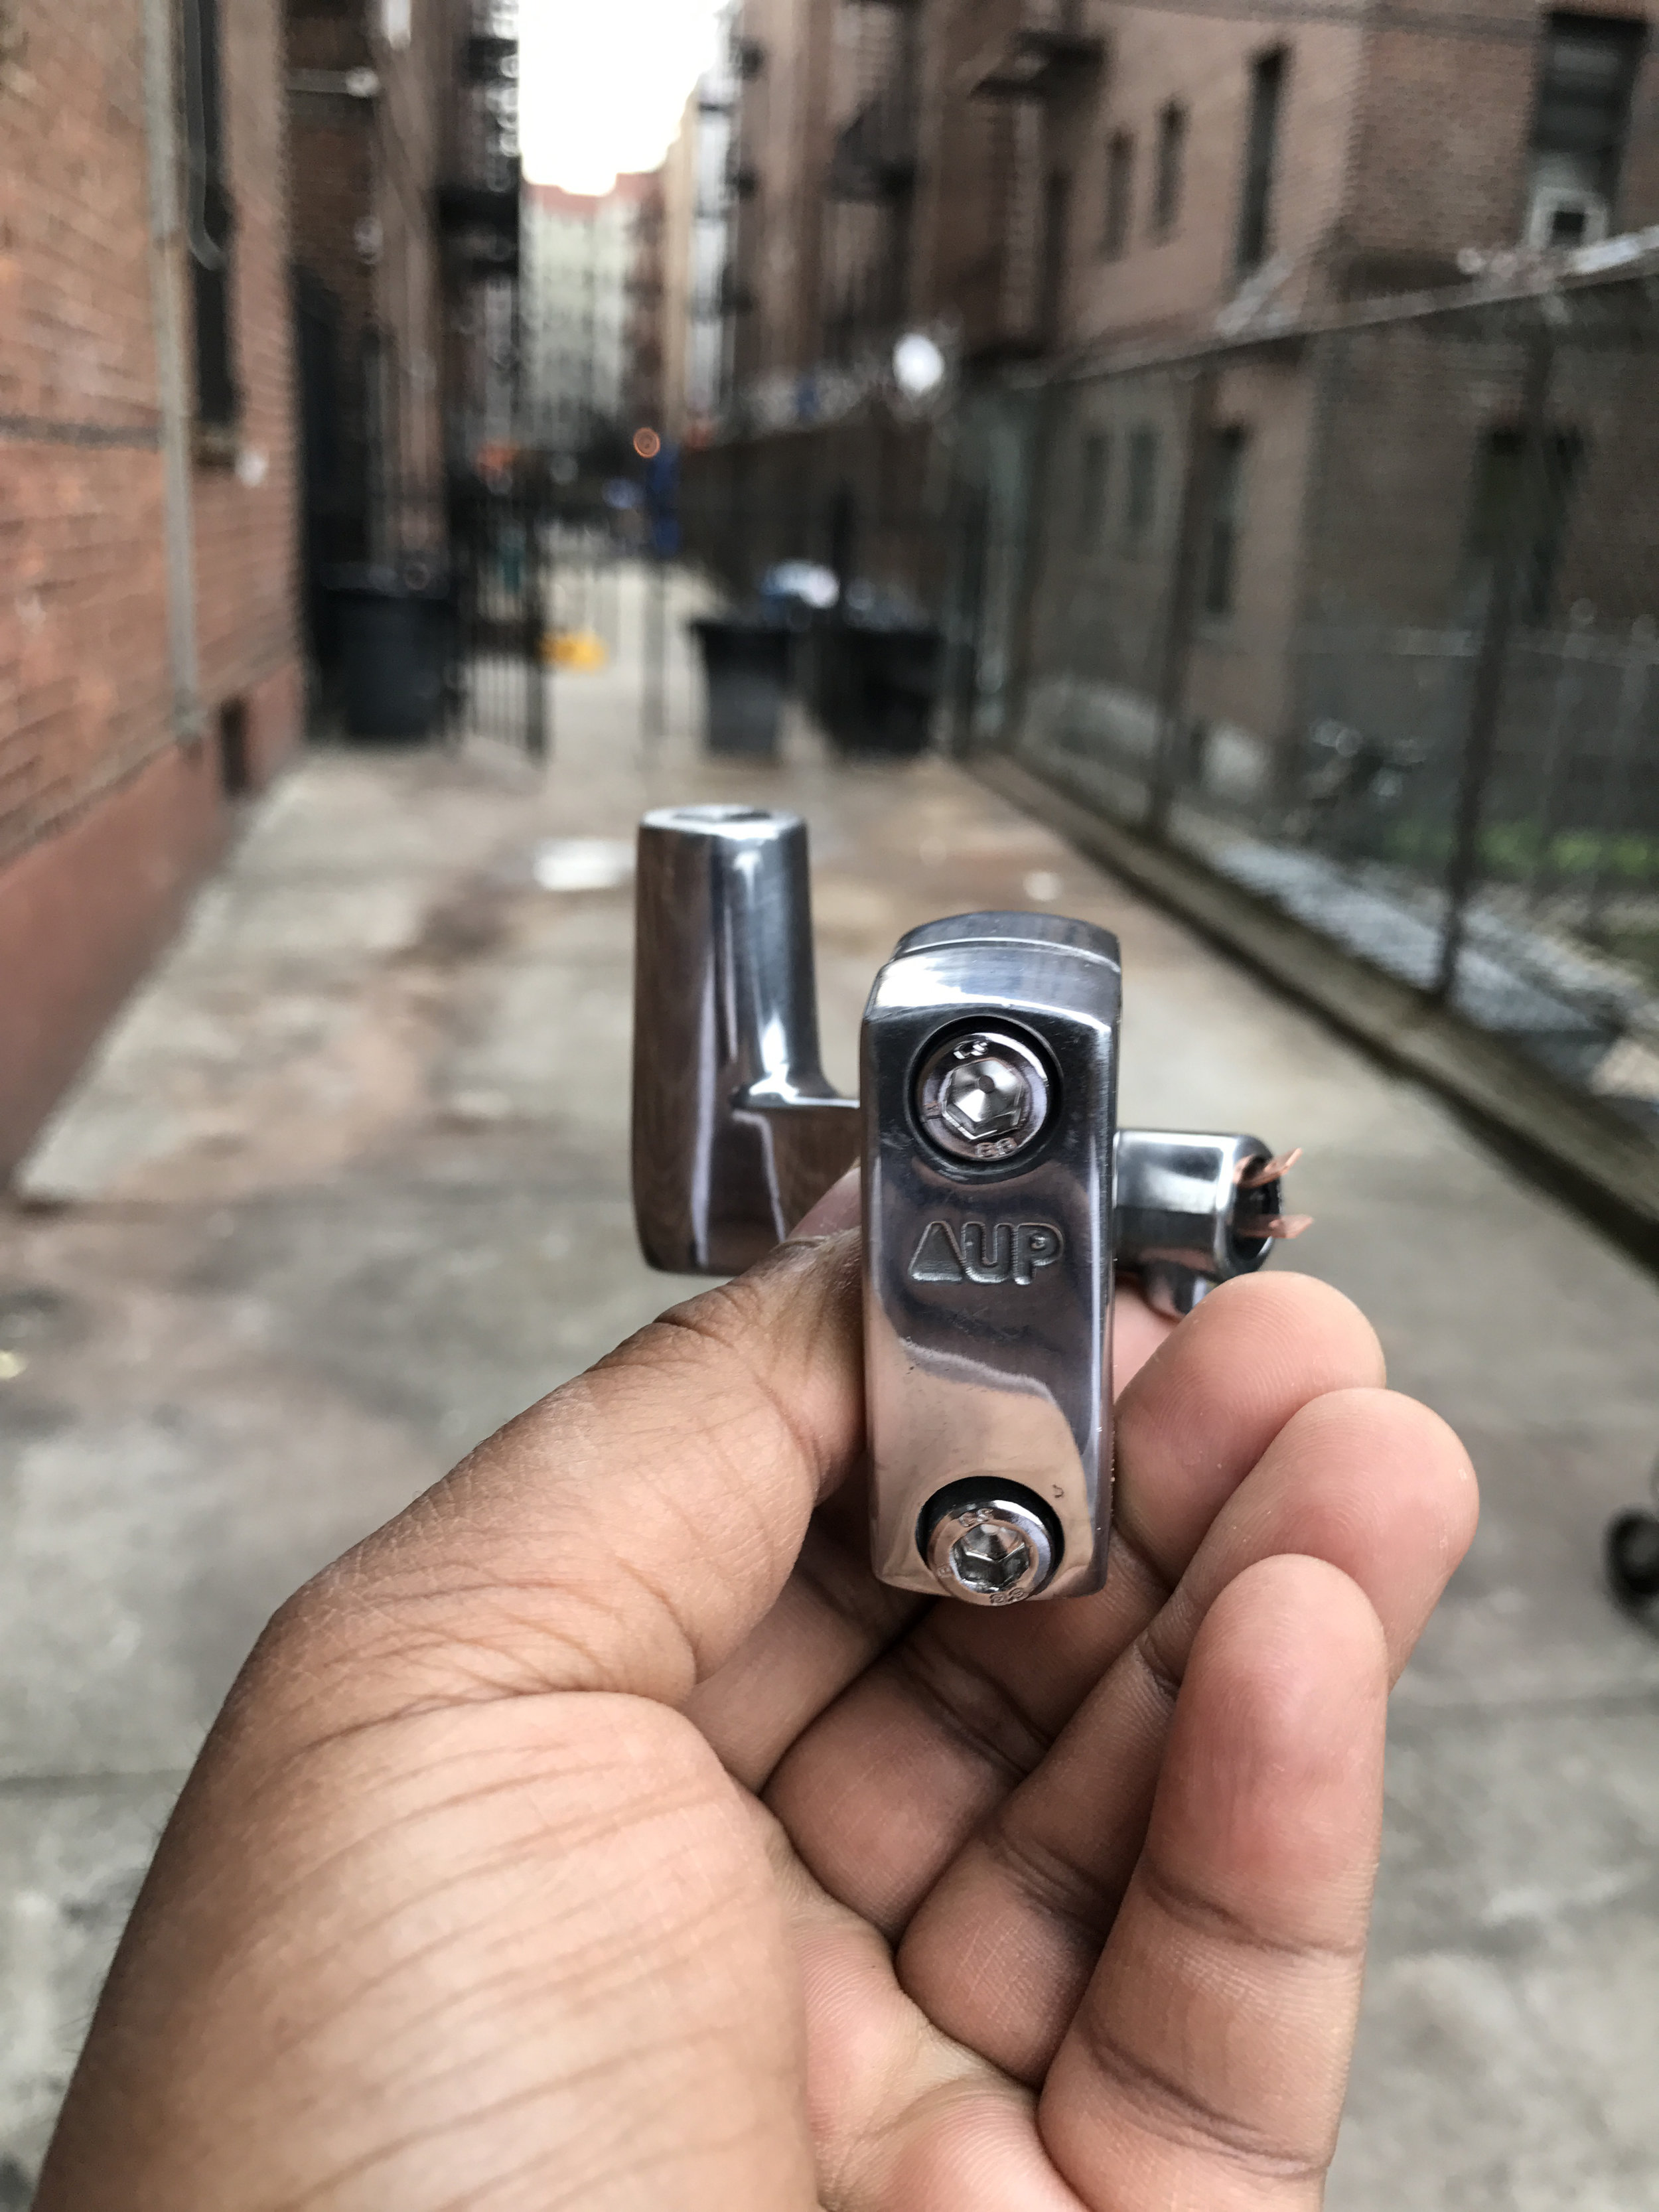
I went back to eBay to hunt for a replacement piece. It turns out, the Honda Shadow 600 VT750 has a similar clutch perch piece on their bikes (thank God for Honda reusing similar parts). For $10+, I could have the exact functionality back for my Honda Rebel. Not too bad!
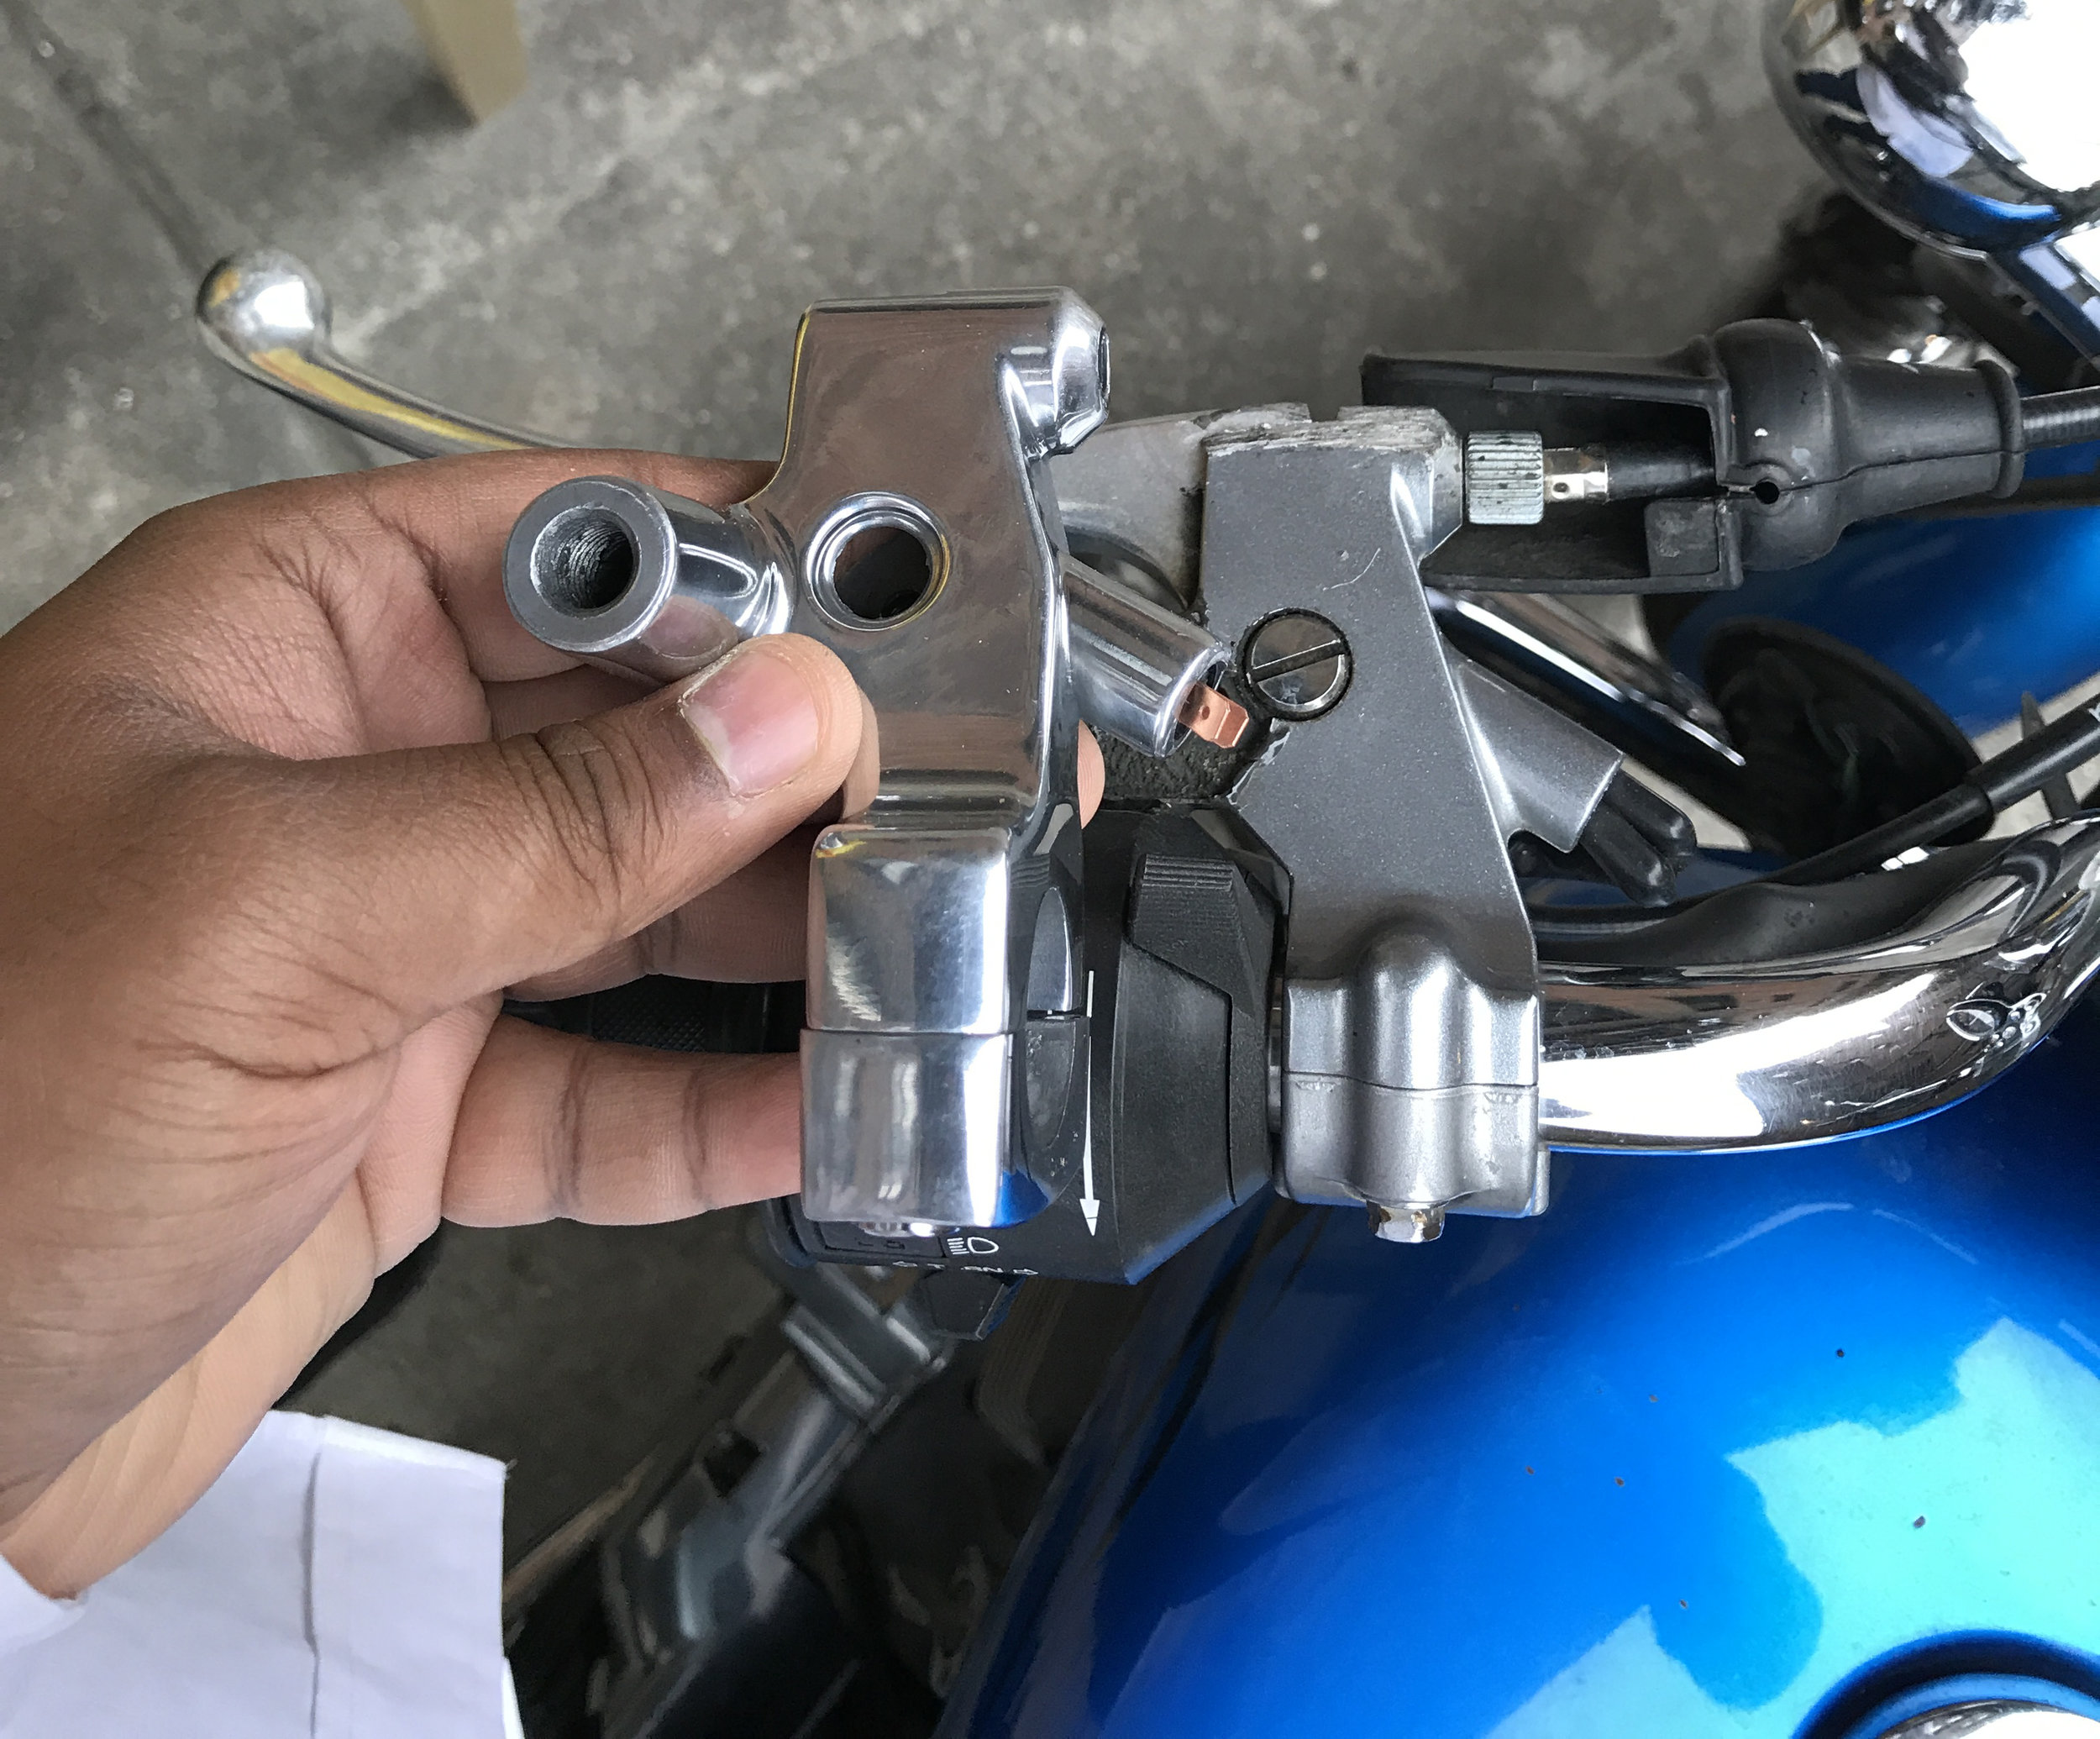
When I purchased it, it took about two weeks to come to my house. Once it arrived, I got to work on installing it. I disassembled the clutch lever, cable, and connectors and took pictures to keep track of everything.
As I assembled after back together, I realized that it was for a 1-inch bar even though I have a 7/8 inch bar. With a little macgyvering of a shim, I was able to still use it.

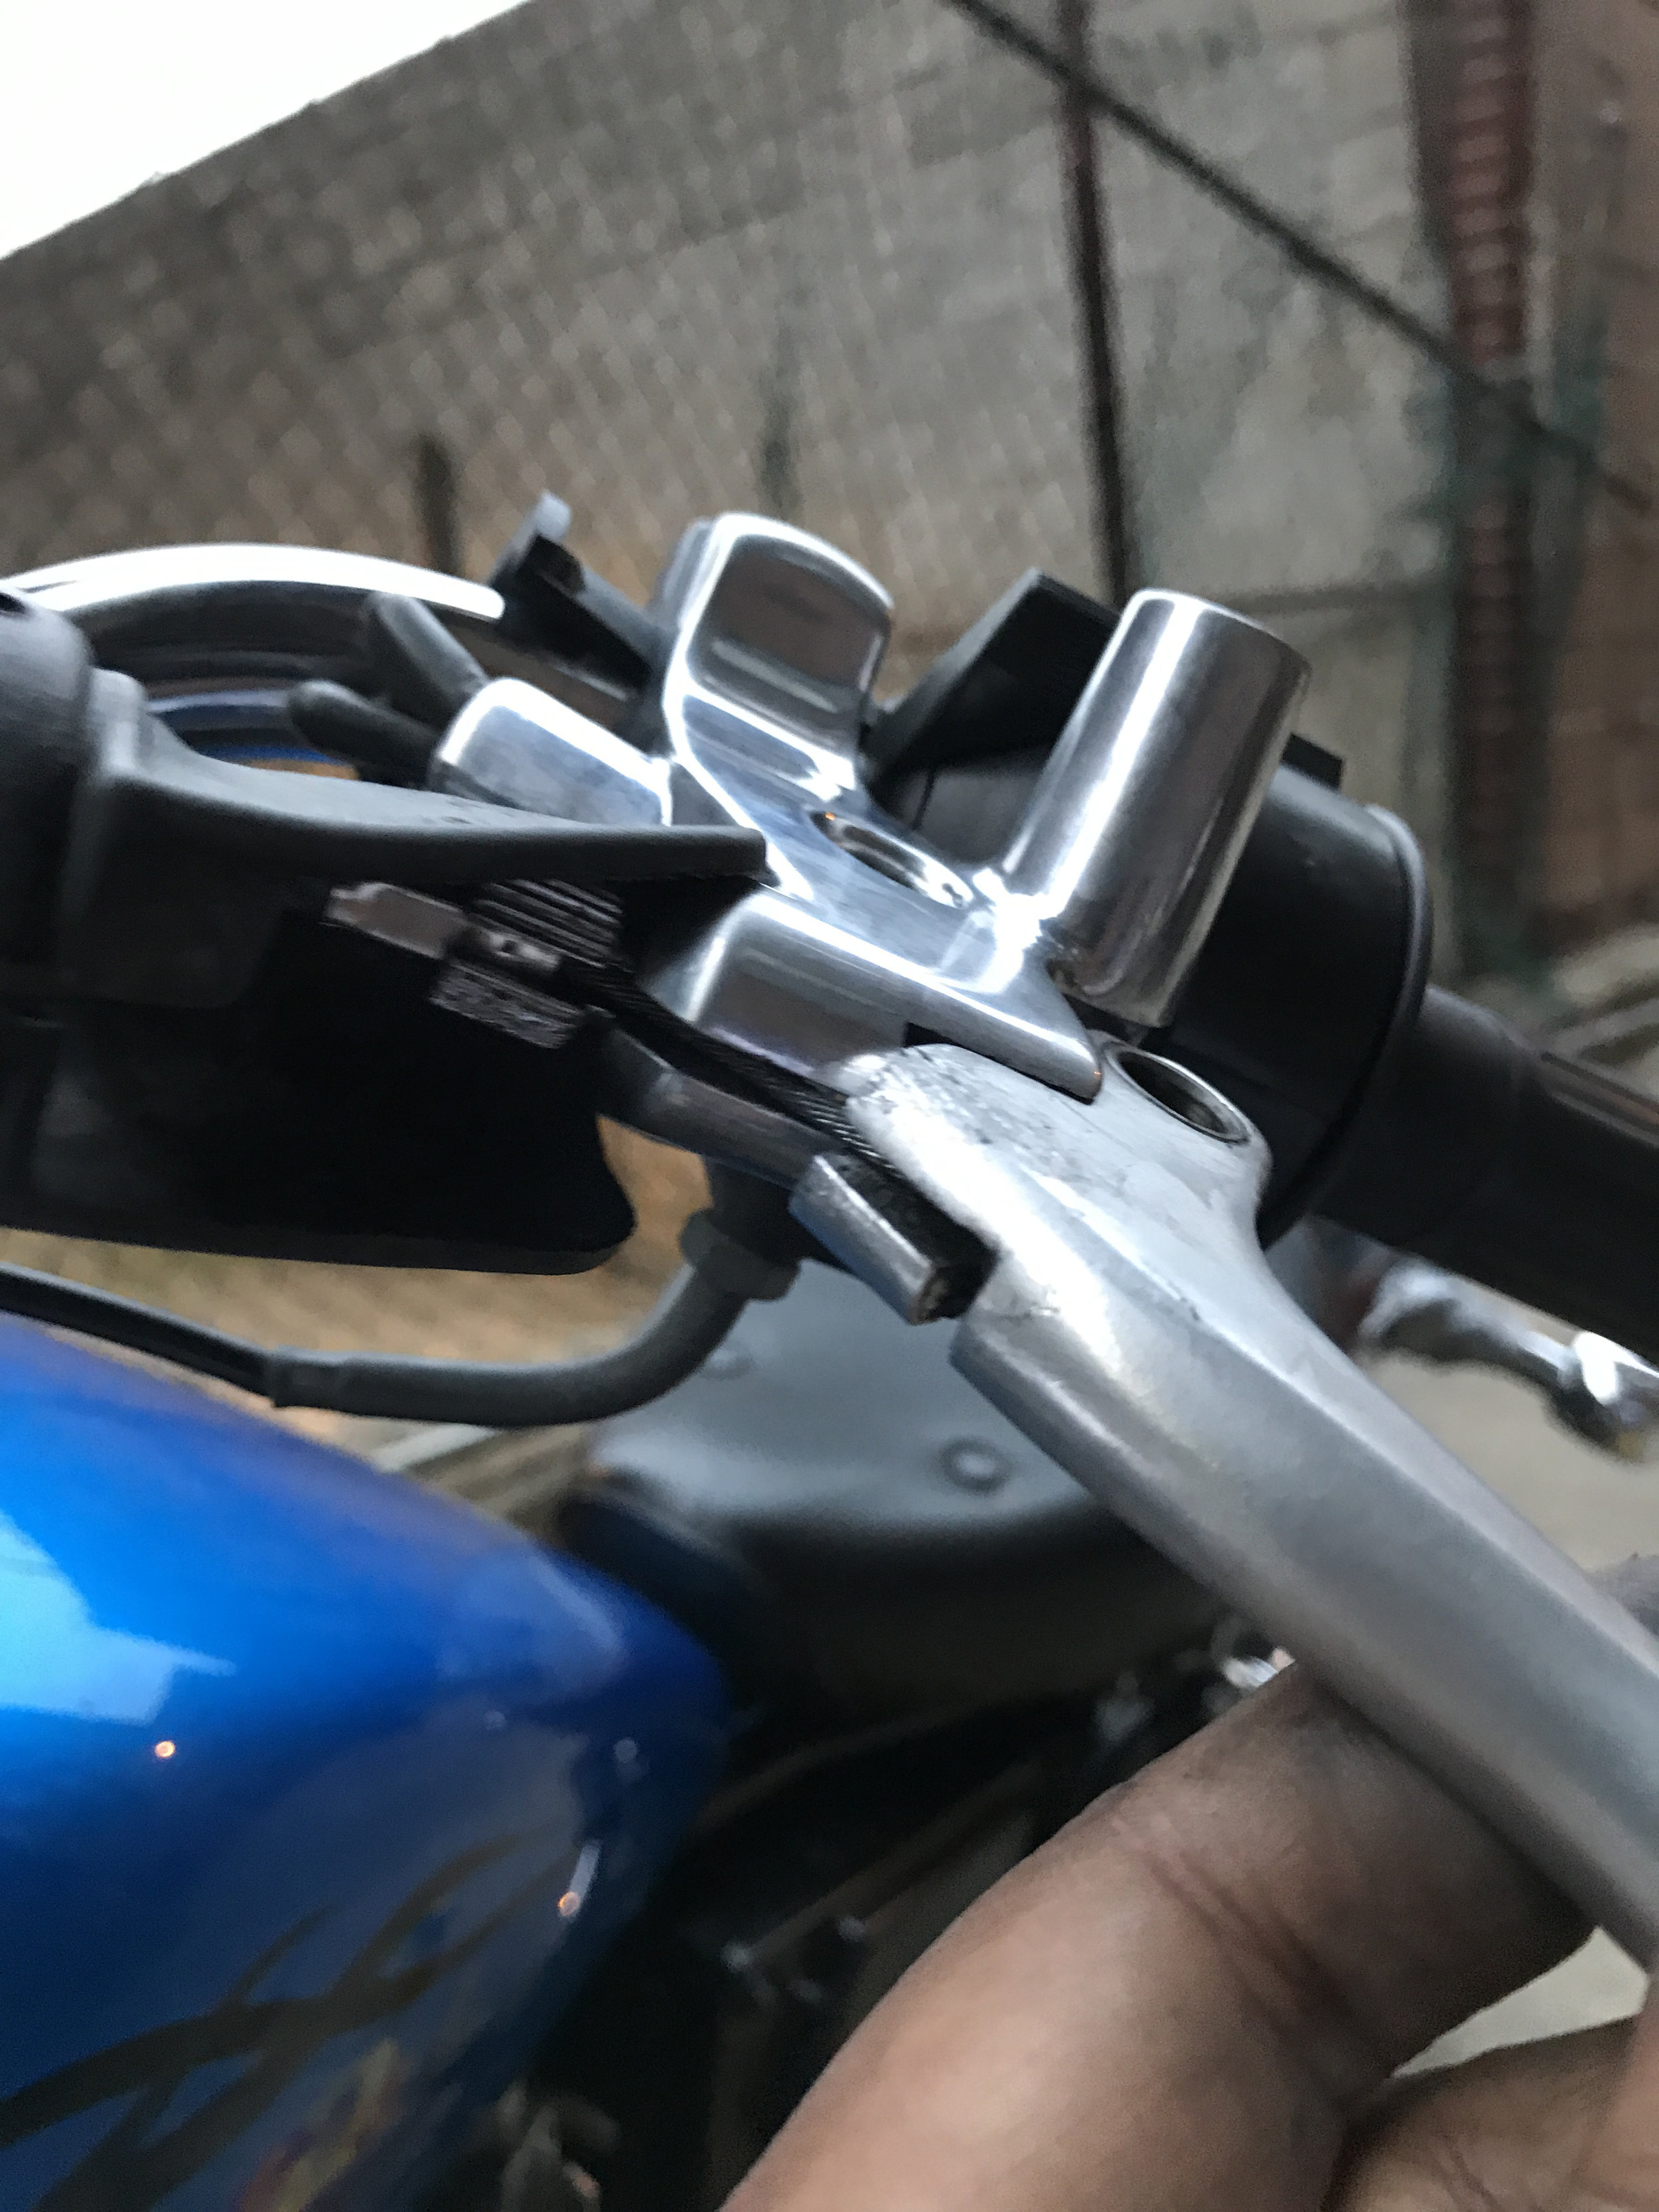
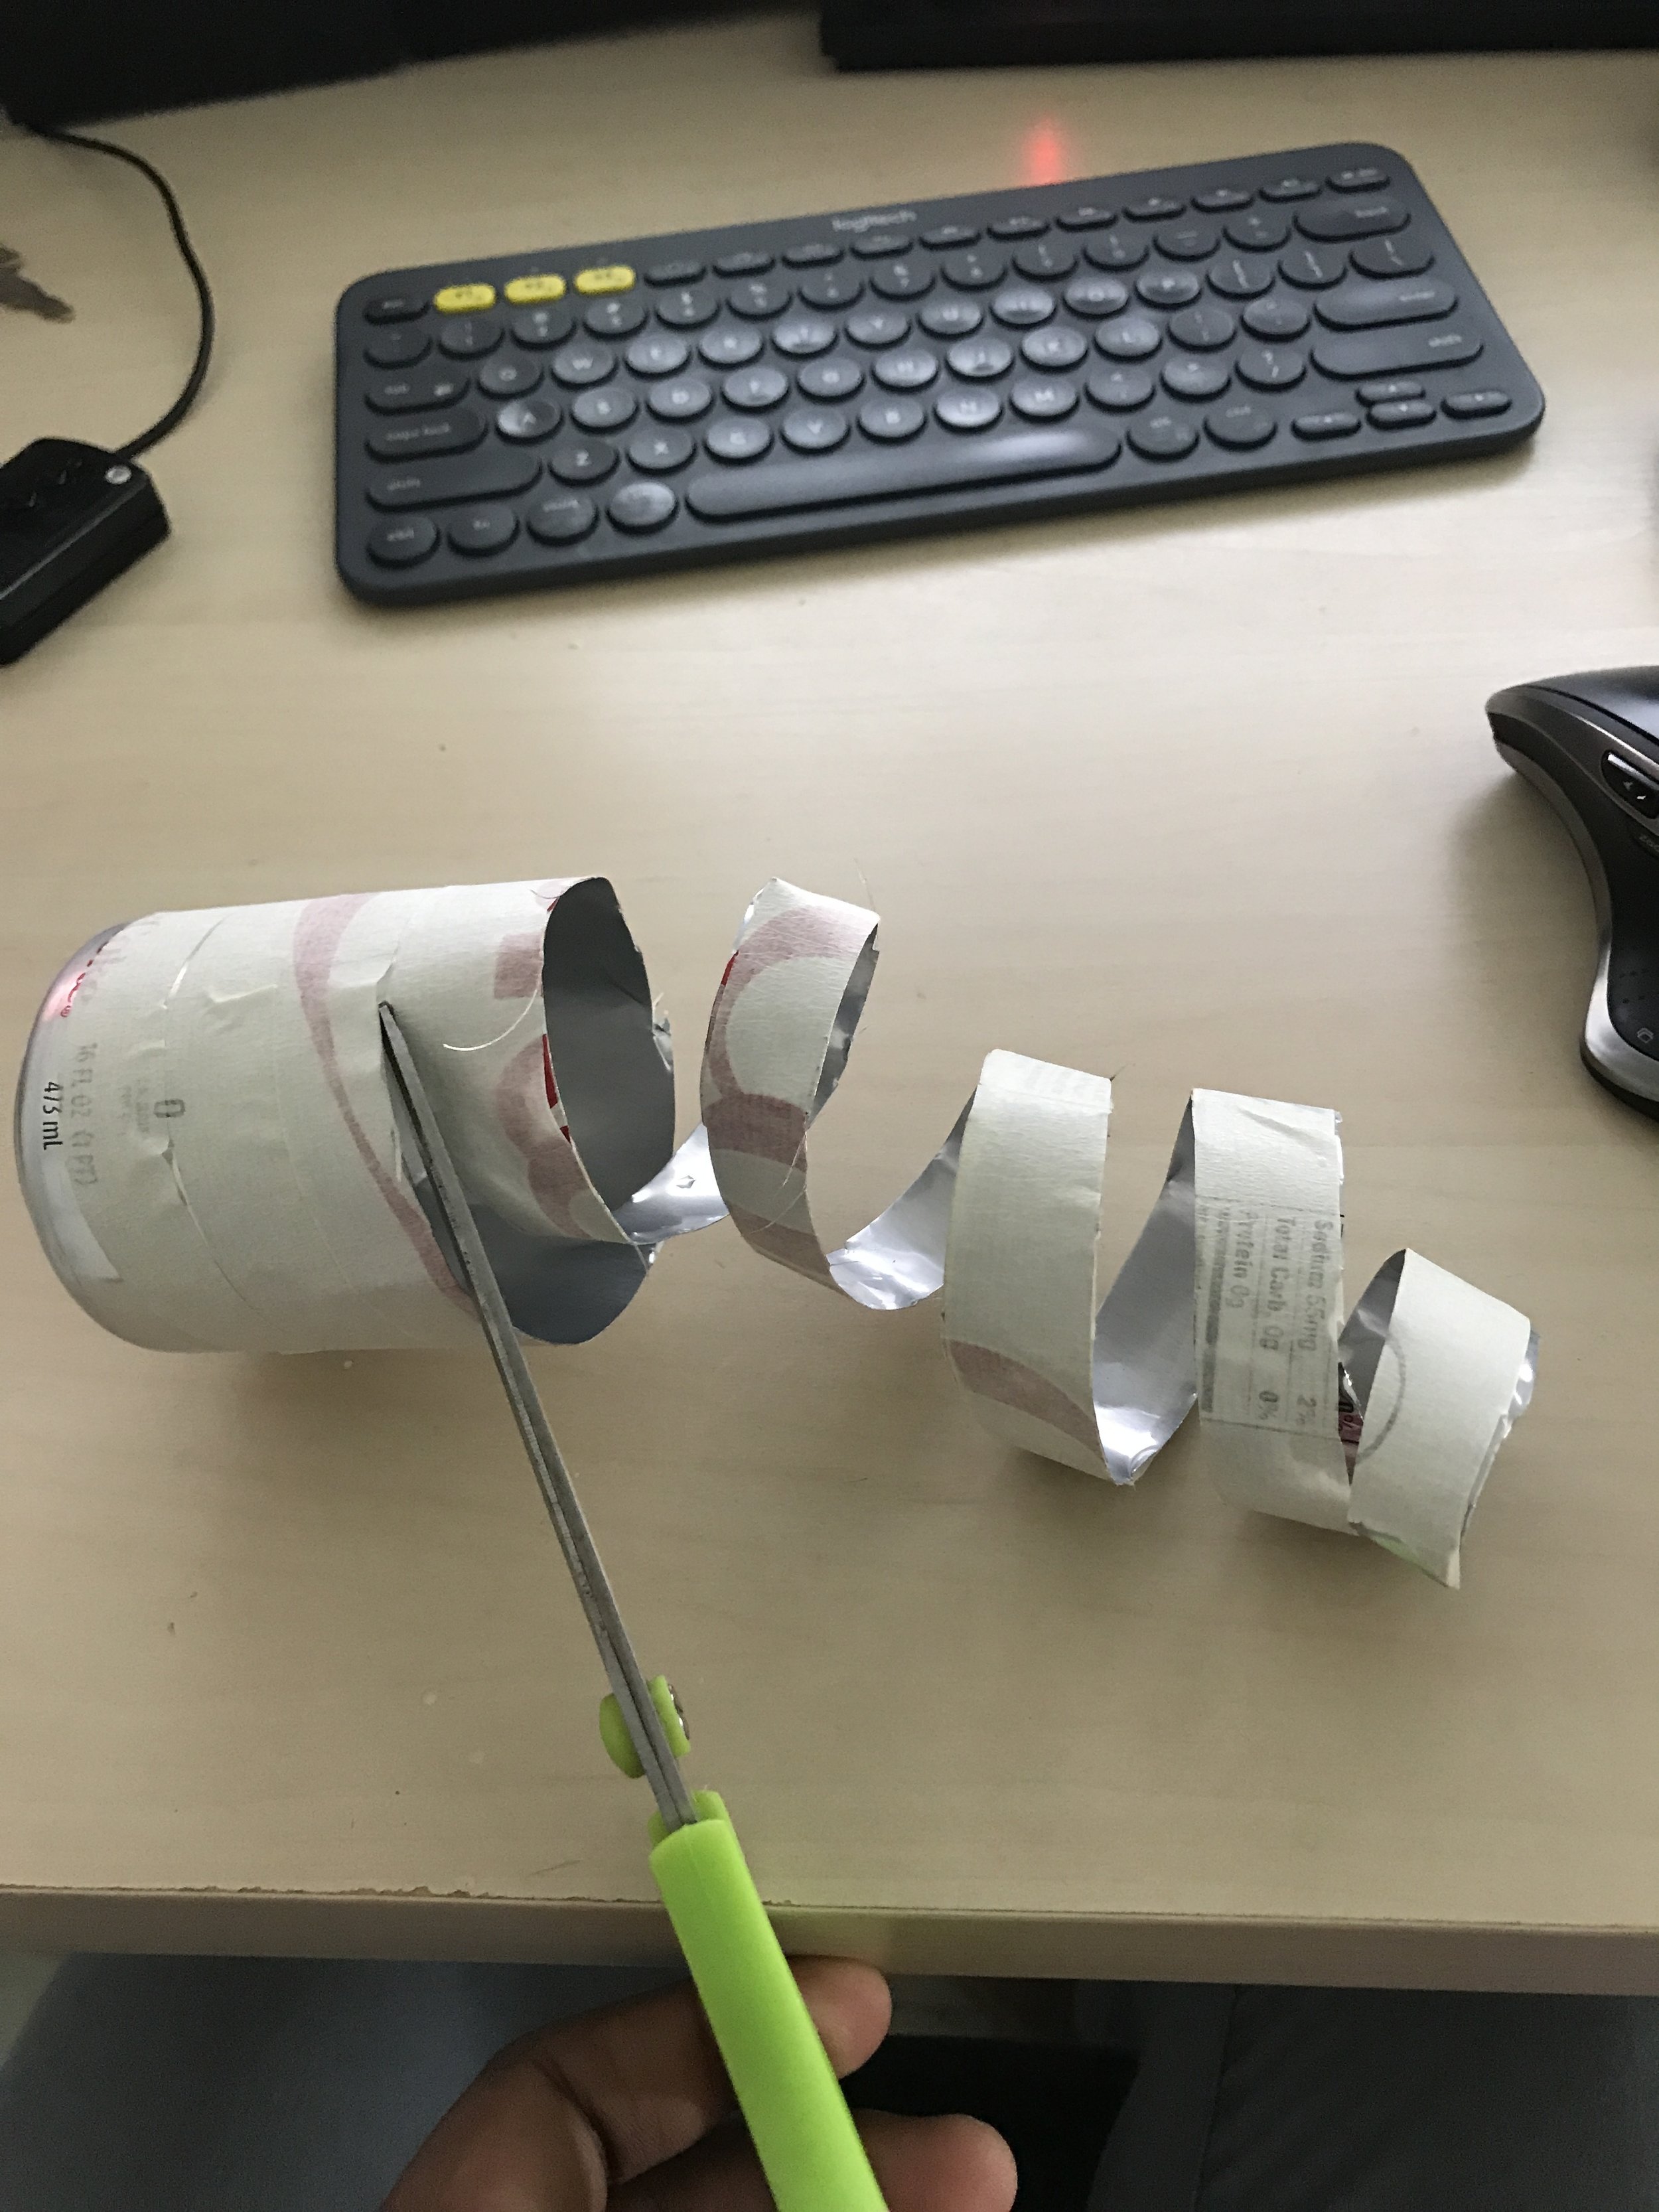
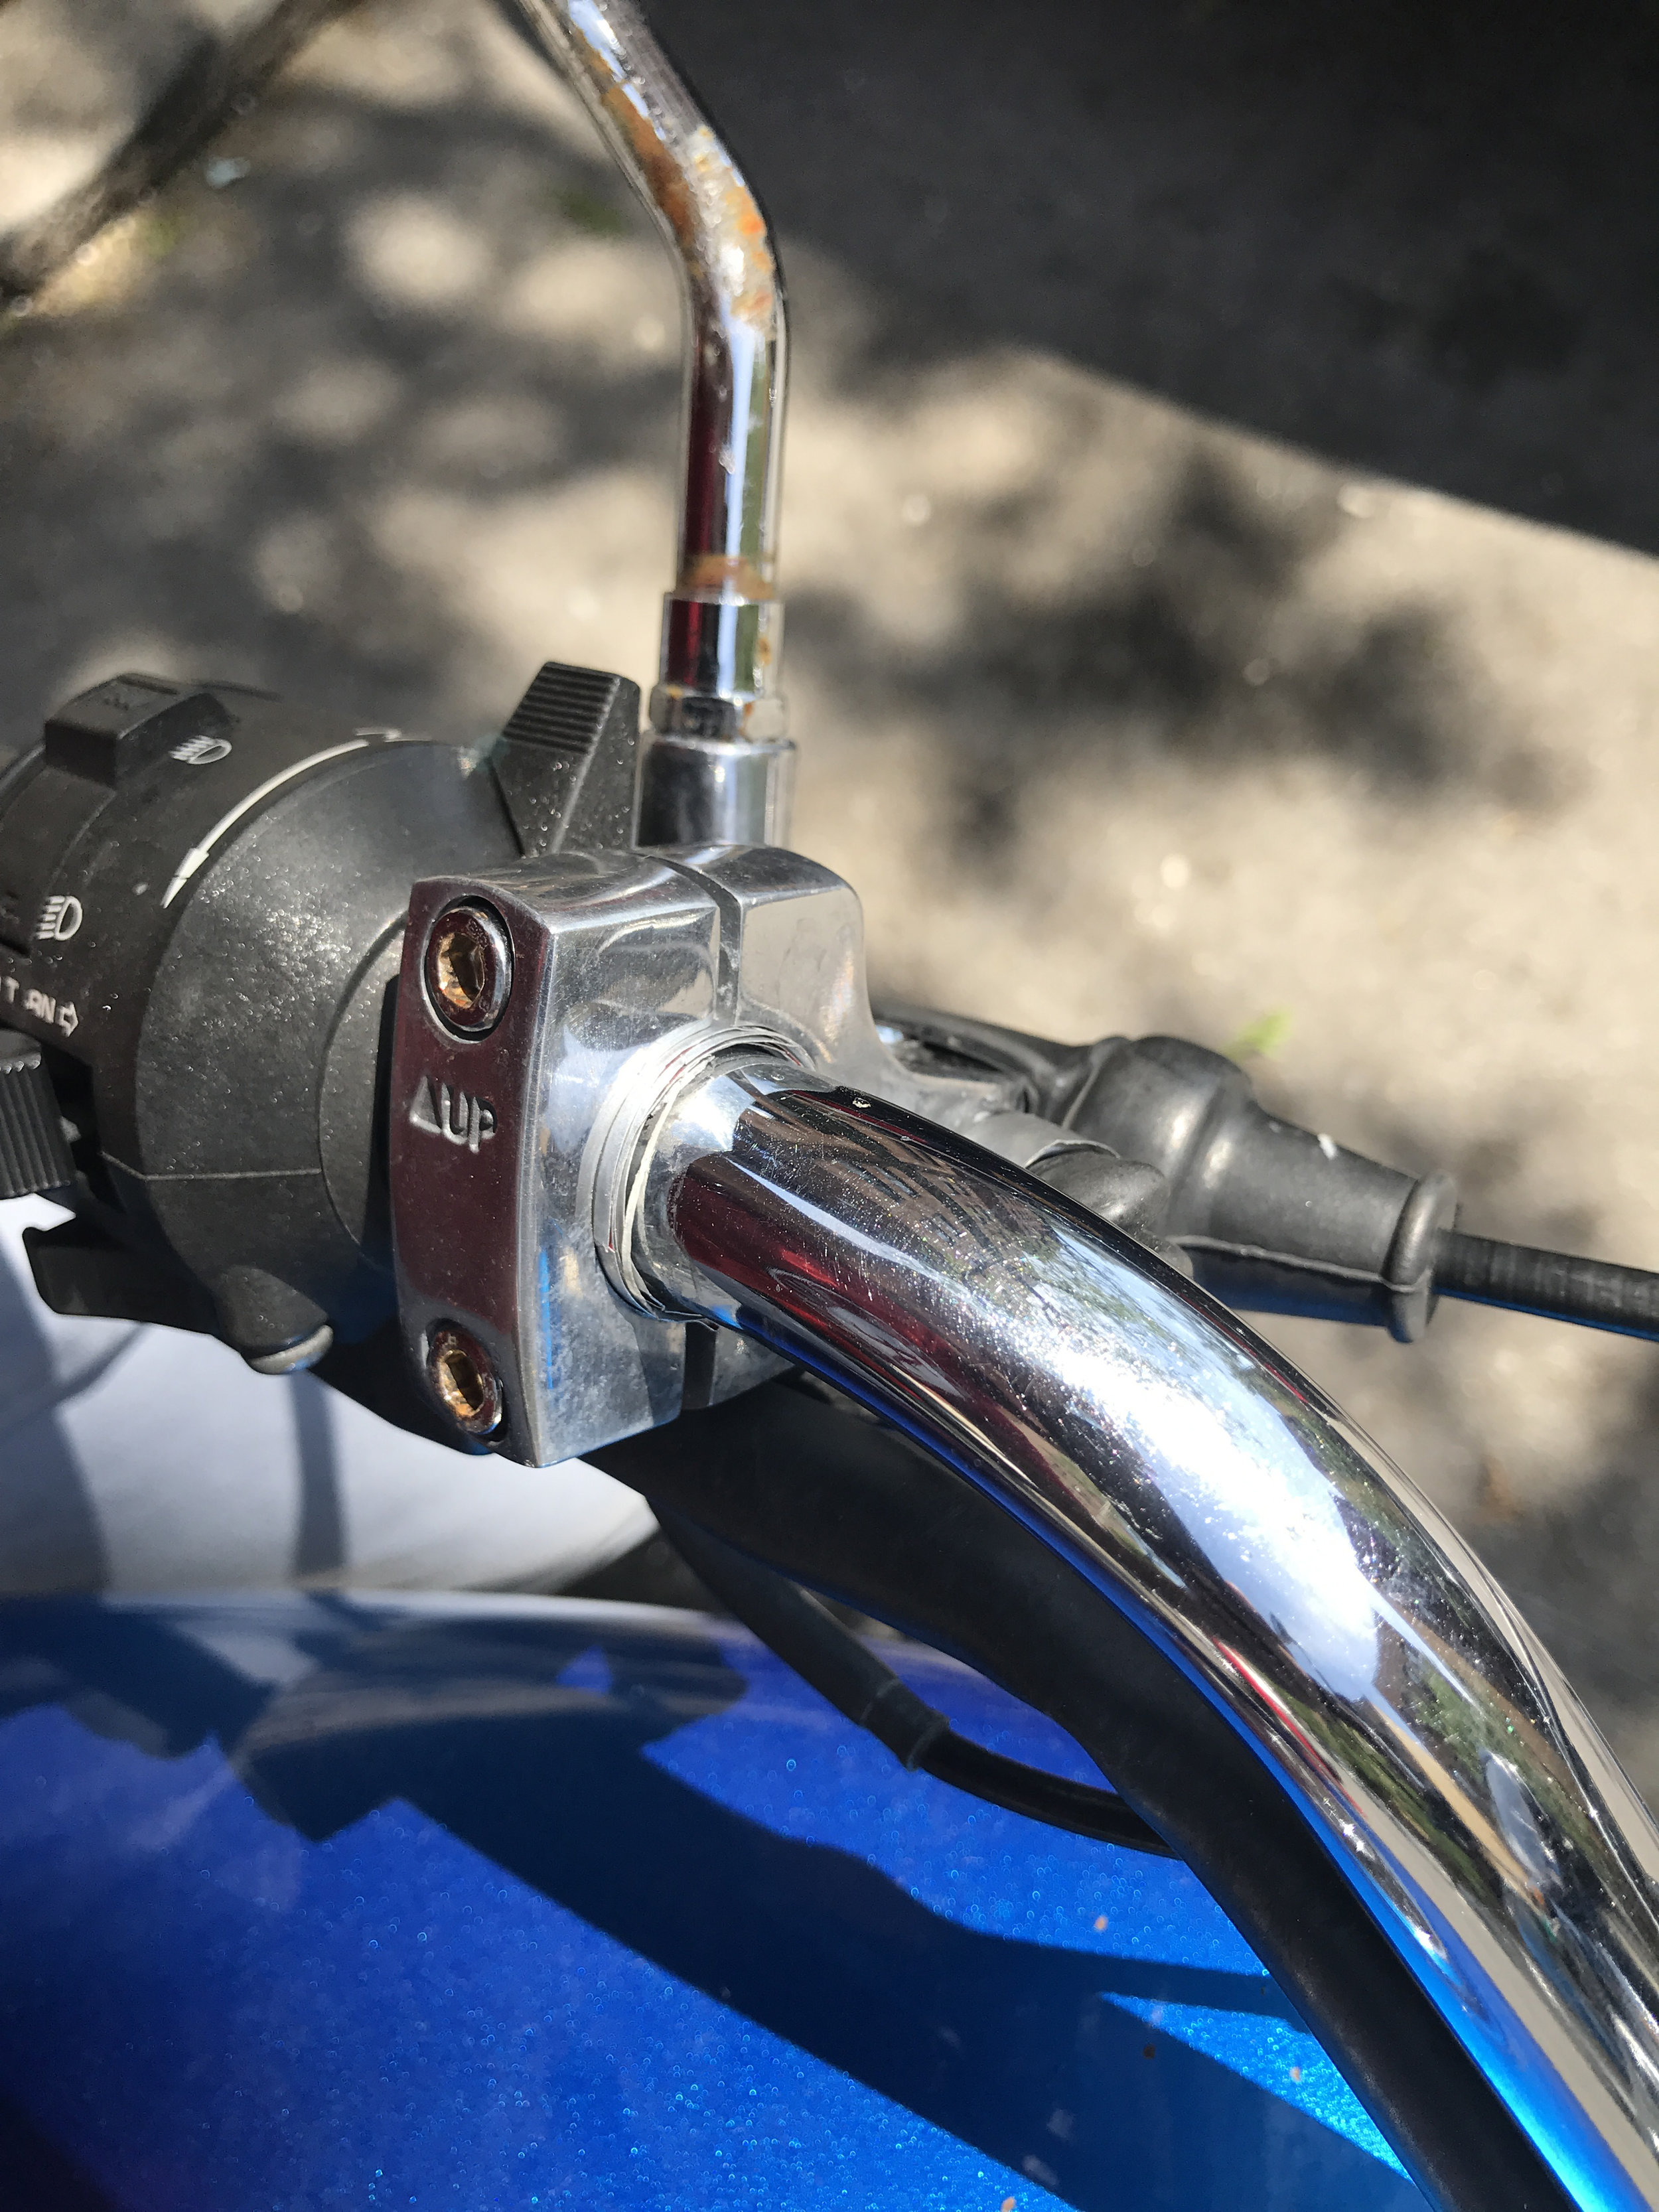
I first added a sliver of duct tape on the handlebar. This allowed me to ensure the grippiness of my can. Next, I emptied out a Diet Coke can, and cut out a long continuous strip of metal use masking tape as a guide. After removing all the tape, I wrapped around the aluminum strip on the bar as a shim. I trimmed it to fit and clamped on the perch.
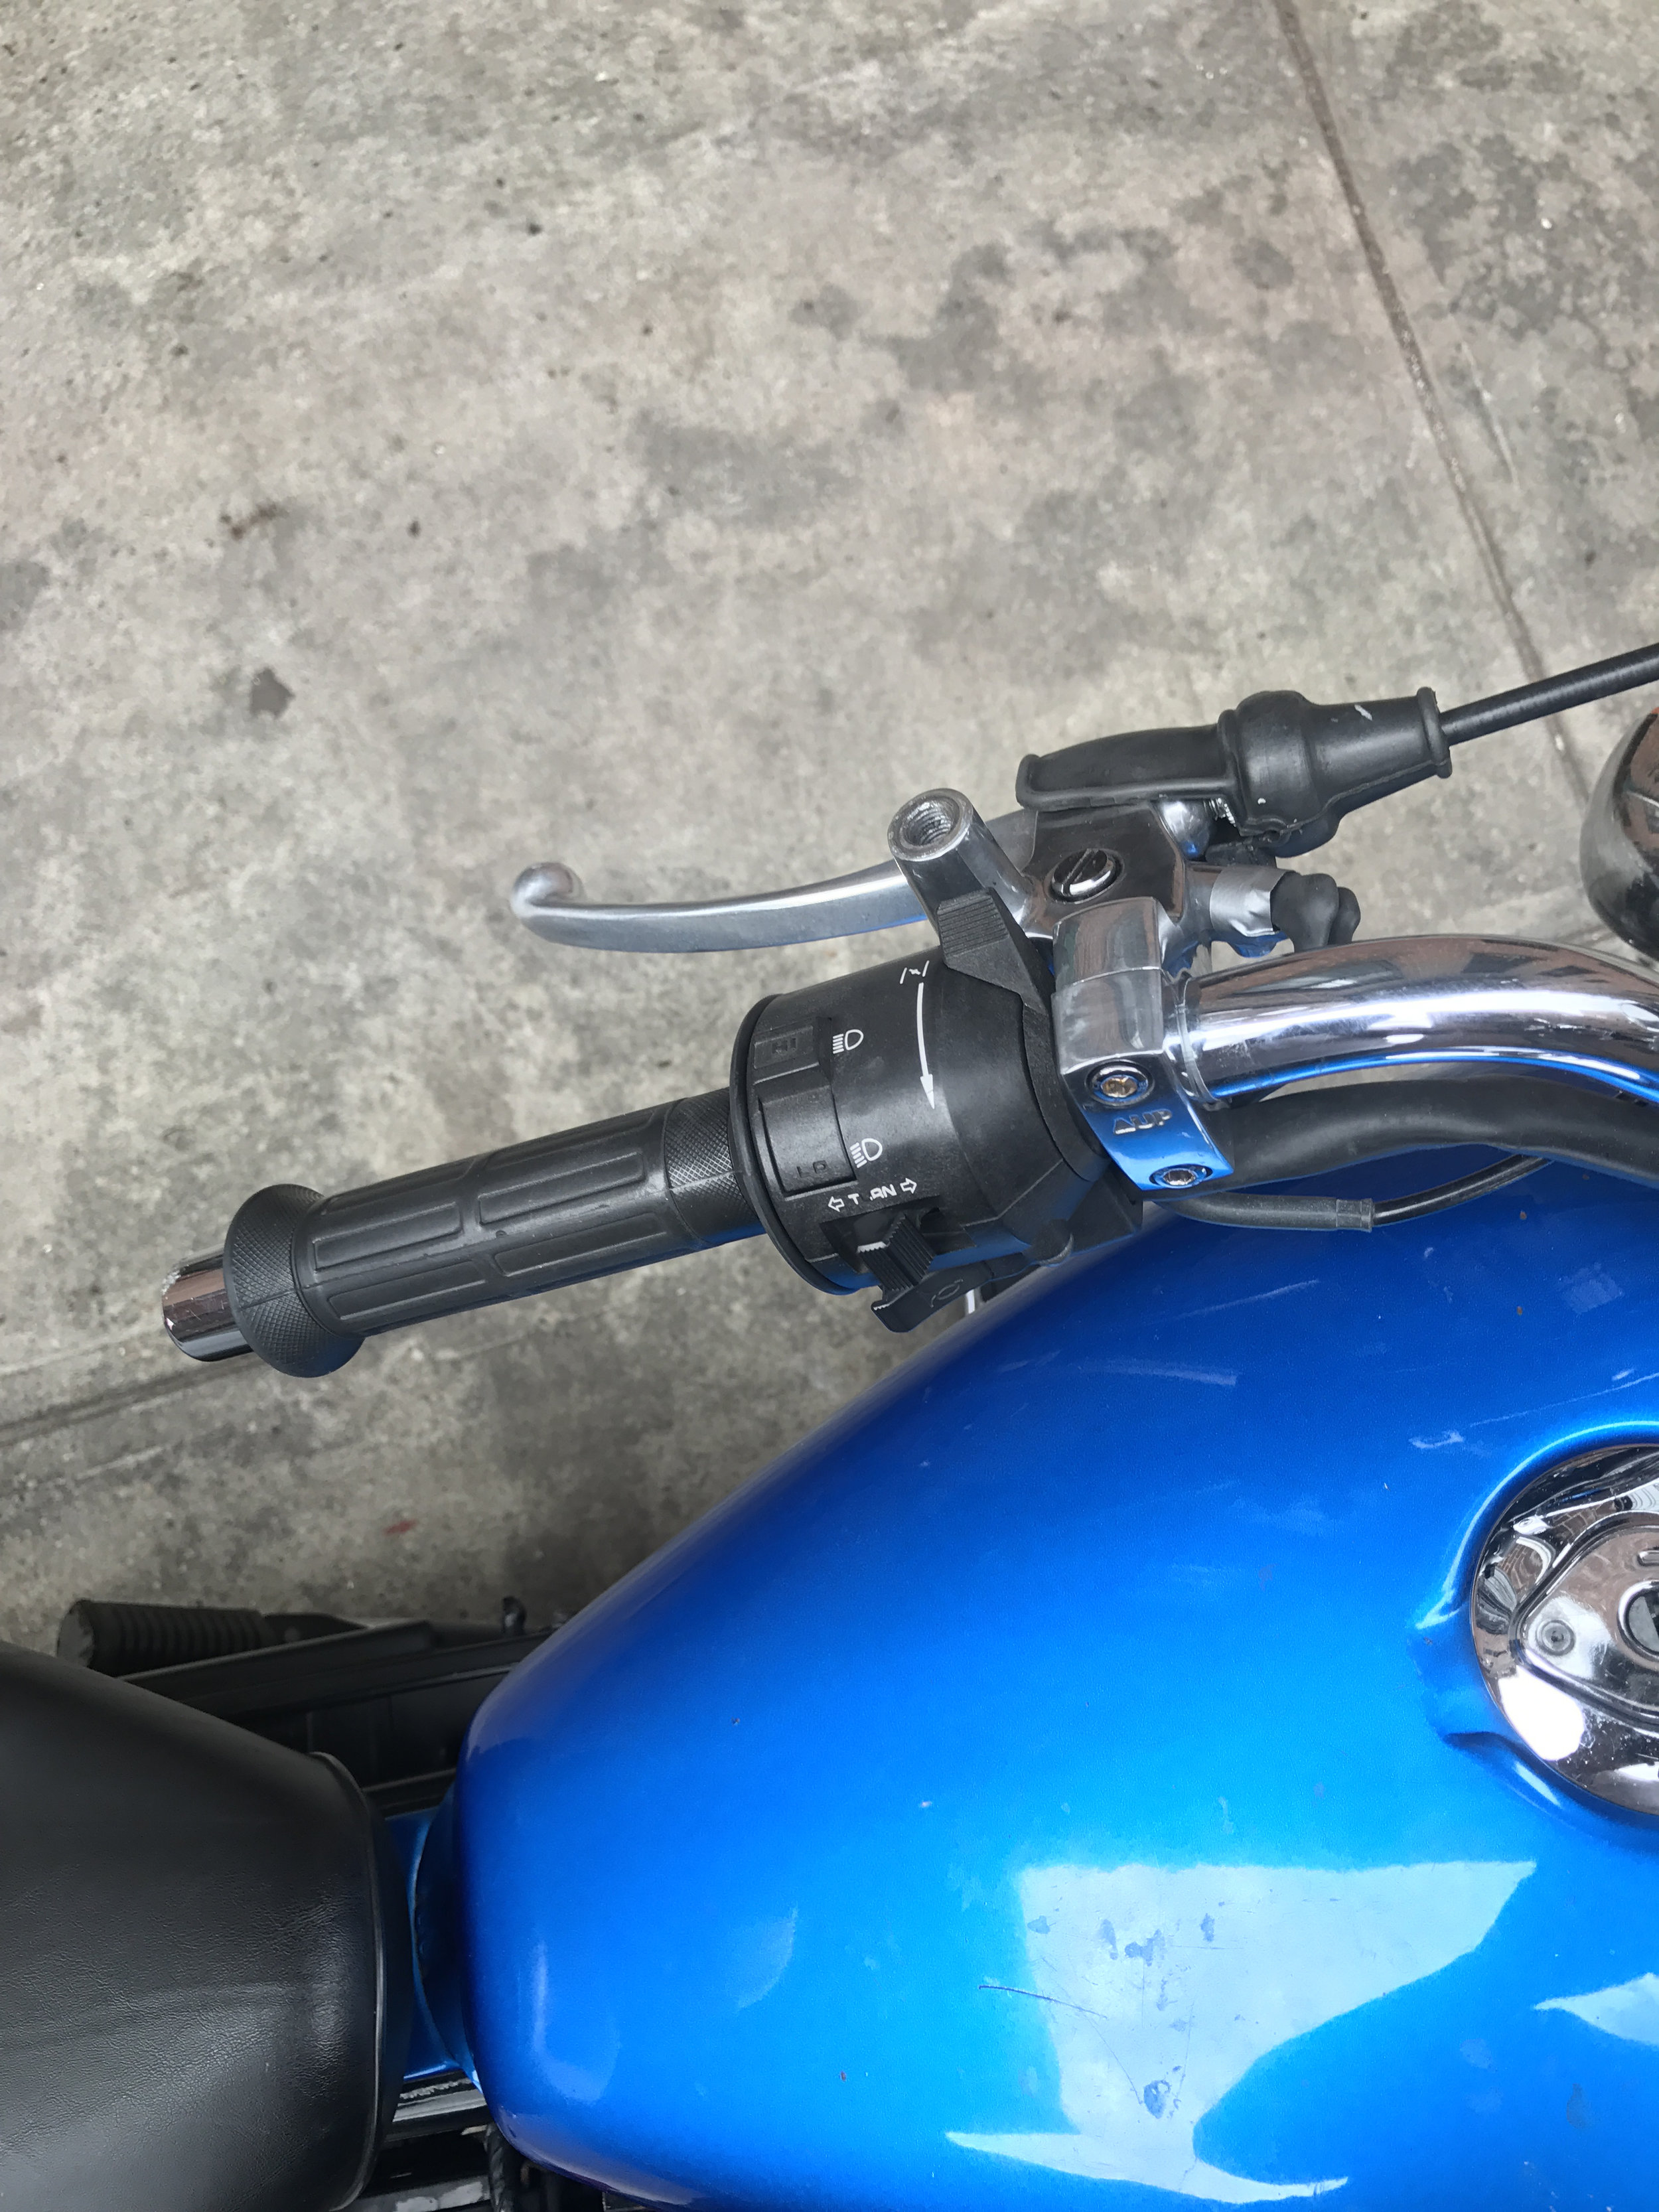
fter screwing it in evenly, I was able to thread the clutch cable through the clutch grip. This was a bit tricky but I took my time with it so that the cable remained intact. I recommending introducing cable slack to make it easier to install. Don’t forget to readjust it back!
At the end, I was really happy with the end result. It’s snug and functional, just the way I like it.